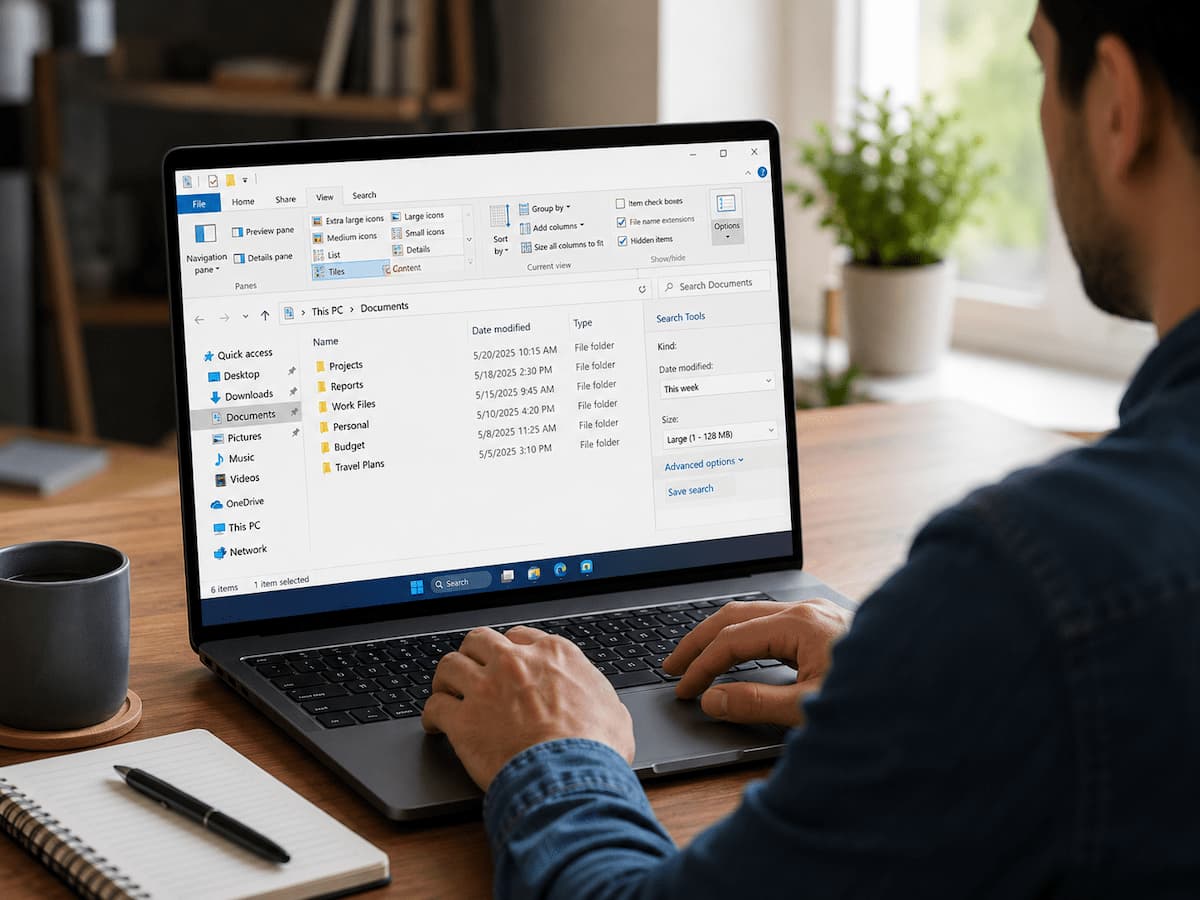
Why File Explorer Settings Matter More Than Most Users Think
File Explorer is your principal link to your computer’s files. Each downloaded photo, saved document, software folder, and personal project travels through it. An unconfigured file explorer causes tiny issues regularly. You may waste time searching the wrong folders, open the wrong file type, or wonder why two similar-named files act differently.
File Explorer customization does not require complex system settings. It simply means customizing Windows to suit your needs. A frequent photo manager may prefer giant thumbnails over file lists. A person who downloads several documents may want file extensions to rapidly distinguish formats. Computer repair may require access to secret system directories. The best settings can help eliminate daily difficulties.
Display File Extensions to Understand Files
Enabling file extensions is a great File Explorer change for novices. Windows usually hides extensions for known file types, so a report may display instead of report. docx. Filename extensions are letters following the period. They identify file types for Windows and users. Image.jpg, document.pdf, video.mp4, and application.exe are common examples.
Showing file extensions simplifies managing files. If you have numerous files with identical names, knowing the format helps you choose. Troubleshooting is easier because you can immediately tell if a file is a document, image, software, or something else.
How to enable file extensions in Windows
- Open File Explorer.
- Select View from the top menu.
- Choose Show.
- Turn on file name extensions.
After enabling this option, filenames will display their full format. This setting is especially helpful for people who download files frequently or work with different types of media.
Tip: Seeing file extensions can help prevent mistakes because you can identify file types before opening them.
Make File Explorer Open Where You Actually Need It
When you open File Explorer, Windows usually starts with a default location such as Home or Quick Access. This works for many people, but it may not be the most convenient choice for everyone. If you regularly work inside a specific folder, such as Documents, Downloads, or a project folder, opening that location first can save time. Instead of clicking through multiple folders every time, you can start exactly where your work begins.
Windows versions differ slightly in how this option appears, but you can usually adjust the starting location in File Explorer settings.
Changing the default File Explorer starting location
- Open File Explorer.
- Select the three-dot menu or the View options depending on your Windows version.
- Open Options.
- Under the general settings area, choose your preferred opening location.
- Apply the changes.
This small adjustment is useful because it removes repeated navigation. The less time you spend searching for the same folders, the more efficient your workflow becomes.
Customize Quick Access for Faster File Management
Quick Access is one of the most convenient parts of File Explorer, but many users leave it completely unchanged. It can become much more useful when customized properly. Quick Access allows you to pin folders that you open often. Instead of remembering the exact location of important files, you can place frequently used folders in an easy-to-reach area.
For example, a student might pin a school project folder, while someone working from home might pin work documents and shared folders. The goal is not to pin everything but to create a small collection of locations you genuinely use.
How to pin a folder to Quick Access
- Find the folder you use frequently.
- Right-click the folder.
- Select Pin to Quick Access.
If Quick Access becomes crowded, please remove any folders you no longer need. A smaller, organized list is usually more useful than a long collection of old locations.
Improve Folder Views So Files Are Easier to Find
Many people use the same folder view for every type of file, even though different files are easier to manage in different layouts. Windows File Explorer allows you to change how folders display their contents, and choosing the right view can make everyday tasks much simpler.
For example, a folder containing vacation photos is easier to browse with large thumbnails, while a folder full of invoices or reports may benefit from a detailed list showing names, dates, and file sizes. Changing folder views is not just about appearance. It changes how quickly you can understand what is inside a folder.
Common File Explorer views and when to use them
| View | Best Use | Why It Helps |
| Large icons | Photos and visual files | Makes it easier to identify images without opening each file. |
| Details | Documents and work files | Shows information such as size, date modified, and file type. |
| List | Folders with many files | Keeps the layout simple and compact. |
| Tiles | General browsing | Provides a balance between file names and additional information. |
To change a folder view, open the folder, select View, and choose the layout that matches the type of content inside. A useful habit is to customize important folders individually instead of forcing every folder to look the same. Windows can remember different views for different types of folders.
Display Hidden Files When You Need More Control
Windows hides certain files and folders by default because some contain important system information. This protects beginners from accidentally changing files that could affect how Windows works.
However, there are times when seeing hidden files becomes useful. Troubleshooting software problems, locating configuration files, or following technical instructions may require access to folders that are normally invisible. For example, some applications store settings inside hidden folders within your user profile. If you are trying to reset an application or remove leftover settings, these hidden locations may be involved.
How to show hidden files in File Explorer
- Open File Explorer.
- Select View.
- Choose Show.
- Enable hidden items.
Use this option carefully. Seeing hidden files does not mean they should be edited or deleted. Some folders are hidden because Windows expects them to remain unchanged.
Use Search Filters to Find Files Faster
Finding a file becomes difficult when your computer contains years of documents, downloads, pictures, and other saved information. Many users rely solely on typing a filename into the search box, but File Explorer offers more powerful search options.
You can narrow results by file type, date, size, or location. These filters are especially useful when you remember details about a file but not its exact name. Imagine you downloaded a PDF guide several months ago but cannot remember the filename. Instead of opening hundreds of files, you can search within a folder and filter results to show only PDF documents.
Examples of useful File Explorer searches
- Type: Search for a specific file format, such as documents or images.
- Date modified: Find files changed recently.
- Size: Locate very large files taking up storage space.
- Folder location: Search only where the file is likely stored.
Better search habits reduce the need to create complicated folder systems. A well-organized computer is helpful, but good search skills are equally valuable.
Remove Unnecessary Files From Quick Access History
Quick Access is designed to help you return to frequently used locations, but it can also display recently opened files and folders. For personal computers, this feature may be convenient. On shared computers, this may expose information you would prefer to keep private. Clearing File Explorer history is a simple way to remove this recent activity information.
How to clear File Explorer history
- Open File Explorer.
- Select the options menu.
- Open Folder Options.
- Under the privacy section, choose the option to clear File Explorer history.
You can also adjust privacy-related Quick Access settings if you do not want Windows showing recently used files or frequently accessed folders. This setting is especially useful on family computers, office computers, or any device used by more than one person.
Change Default File Associations to Avoid Opening Files Incorrectly
Every file type in Windows is connected to a program that opens it. For example, image files may open in the Photos app, while PDF files may open in a web browser or another document reader.
Occasionally Windows chooses a default application that is not the one you prefer. Changing file associations allows you to control which programs open specific file types. A common example is when someone installs a new media player but video files continue opening with the old application. Adjusting the default app solves this issue without requiring you to manually choose a program every time.
How to change a default app for a file type
- Open Windows Settings.
- Select Apps.
- Choose default apps.
- Select the file type or application you want to change.
Choosing the right default applications makes File Explorer feel more predictable because files open exactly how you expect.
Enable Item Check Boxes for Easier File Selection
Selecting multiple files in File Explorer is usually done by holding the Ctrl key while clicking different items. While this method works, it can become frustrating when you are managing many files or using a touchscreen device.
Windows includes an option called “item check boxes” that adds small selection boxes beside files and folders. This gives you a more visual way to select multiple items without relying on keyboard shortcuts. This feature is especially useful when organizing photos, moving documents, or deleting groups of unnecessary files. Instead of carefully clicking each file name, you can simply mark the items you want.
How to enable item check boxes
- Open File Explorer.
- Select View.
- Open the Show menu.
- Enable item check boxes.
Beginners often avoid selecting multiple files because keyboard shortcuts feel difficult at first. Item check boxes provide a simpler alternative and can make file management less error-prone.
Show the Full Path in the File Explorer Title Bar
When working with many folders that have similar names, it can be particularly challenging to lose track of your current location. Windows normally shows the folder name, but sometimes knowing the complete path can prevent confusion. A full path shows the exact location of a folder, including the drive and all folders leading to it. For example, a document might be stored inside several layers of folders, and the full path helps you understand exactly where it belongs.
This setting is useful for people who manage work projects, backups, or large collections of files.
Why folder paths matter
- They help you confirm you are working in the correct location.
- They make it easier to explain file locations when asking for technical support.
- They reduce mistakes when moving or copying important files.
Even if you do not use this feature every day, understanding folder paths helps you become more comfortable managing files in Windows.
Use the Navigation Pane to Move Around Windows Faster
The navigation pane on the left side of File Explorer provides quick access to important locations. Many users ignore it, but customizing this area can make browsing folders much faster.
You can use it to access drives, cloud storage locations, network folders, and commonly used folders without repeatedly opening new windows. For example, someone who stores files on an external hard drive can keep that location visible in the navigation pane instead of searching for it each time the drive is connected.
Adjusting the navigation pane
- Open File Explorer.
- Select View.
- Choose the Navigation pane.
- Select the options you want displayed.
A cleaner navigation pane makes File Explorer easier to understand because the places you actually use are always available.
Common Mistakes
Customizing File Explorer is generally safe, but beginners sometimes make changes without understanding their purpose. A few simple precautions can prevent problems.
- Changing system files without knowing what they do
- Creating too many shortcuts
- Changing settings without remembering the original option
FAQs
2. File Explorer seems different after the update. Why?
Sometimes Windows upgrades change the menus, layouts, or options that are offered. The essential functionalities will remain the same; however, the position of some options may change.
3. Should beginners always show hidden files?
If you don’t constantly debug software or change sophisticated settings, there is no reason to keep hidden files visible all the time. Most users can temporarily enable this option when they need it.
4. How to speed up File Explorer?
So, organizing your directories, removing superfluous files, and avoiding folders that are too big might improve the experience. Faster storage technology also influences how quickly files load and folders open.
5. If I don’t like the modifications, can I reset File Explorer settings?
Yes. Most of File Explorer’s options can be reset to defaults with Folder Options. You can also manually undo individual modifications, e.g., folder views or Quick Access settings.
Conclusion
File Explorer is one of the most utilized programs in Windows, but many people only scratch the surface of what it can achieve. A few minutes of tweaking hidden settings can make everyday work easier and get rid of little irritants that build up over time.
Start with modest adjustments like exposing file extensions, personalizing Quick Access, updating folder displays, and employing improved search algorithms. These tweaks don’t need technical knowledge but can make your computer feel more structured and predictable.
The most personalized Windows configuration is not the best one. It’s the one that helps you find, organize, and safeguard your files with minimal work.
References
- Microsoft Windows Support — Official documentation for Windows features and settings.
- Microsoft Learn: Windows Documentation — Technical information about Windows features and management.
Leave a Reply